
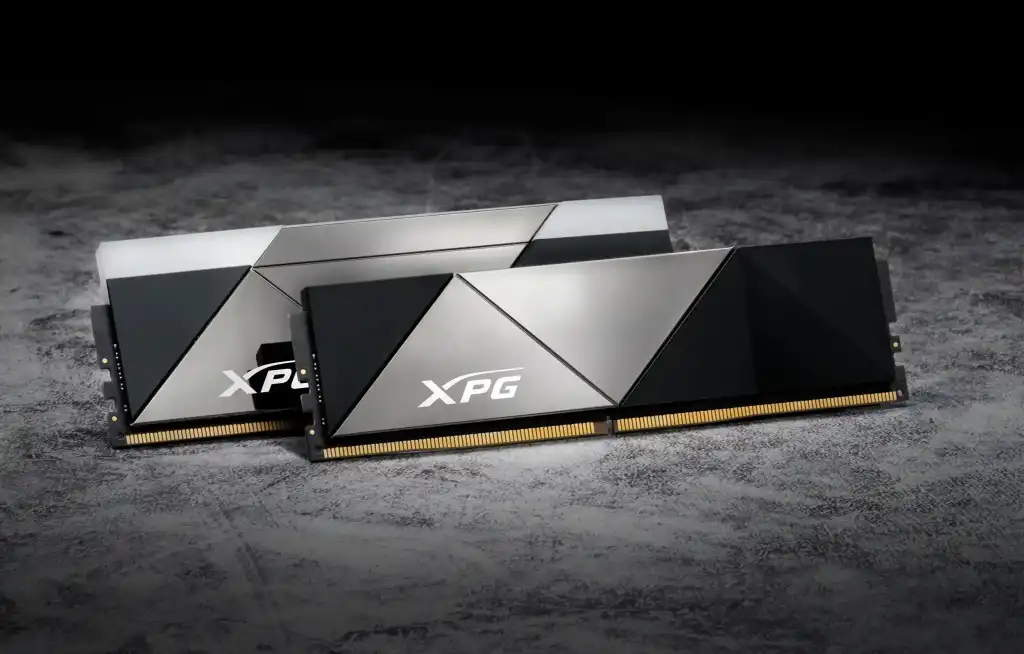
How to Choose the Right RAM Upgrade to Fast-Track Your Desktop PC Leave a comment
Is your computer struggling to keep up with your workload? Programs taking forever to open? Frequent freezes or crashes when you have multiple browser tabs and applications running? These frustrating symptoms often point to one culprit: insufficient RAM.
The good news? Upgrading your RAM is one of the most cost-effective and straightforward ways to breathe new life into your desktop PC. It can dramatically improve multitasking, reduce lag, and extend your system’s lifespan without requiring a full replacement. But with so many options on the market, choosing the right memory can feel overwhelming.
This guide breaks down everything you need to know to select the perfect RAM upgrade for your desktop PC, ensuring you get the performance boost you’re after without wasting money on incompatible or unnecessary components.
How Much RAM Do You Actually Need?
Before diving into technical specifications, the most critical question is capacity. How much memory does your workflow demand? Here’s a practical breakdown based on how you use your PC:
Casual User (8GB Minimum)
If your daily routine involves internet browsing, email, listening to music, or watching videos, 8GB of RAM is the baseline to keep your system running smoothly. This is the bare minimum for a productive experience without constant slowdowns.
Intermediate User & Office Professional (16GB Recommended)
For those juggling multiple browser tabs, spreadsheets, word processing, video conferencing, and background apps like Slack or Teams, 16GB is the new standard.
Modern workloads have ramped up to such a degree that 16GB is now considered the operational minimum for a smooth user experience on Windows.
If you’re upgrading to Windows 11 or using it for work, 16GB should be your starting point.
Professional User, Gamer & Multimedia Creator (32GB or More)
Serious gamers, graphic designers, video editors, engineers, and developers running virtual machines will benefit significantly from 32GB of RAM. While 16GB remains the gold standard for mainstream gaming, 32GB is increasingly becoming the new normal for enthusiasts and professionals who demand top-tier performance and future-proofing. For heavy-duty tasks like 4K/8K video editing or working with large datasets, you might even consider 64GB.
Choosing the Right RAM: Key Technical Factors
Once you’ve determined your capacity needs, consider these technical factors to ensure compatibility and optimal performance.
1. DDR Generation: The Non-Negotiable Choice
This is the first and most critical compatibility hurdle. RAM comes in different generations, with DDR4 and DDR5 being the most common on the market today.
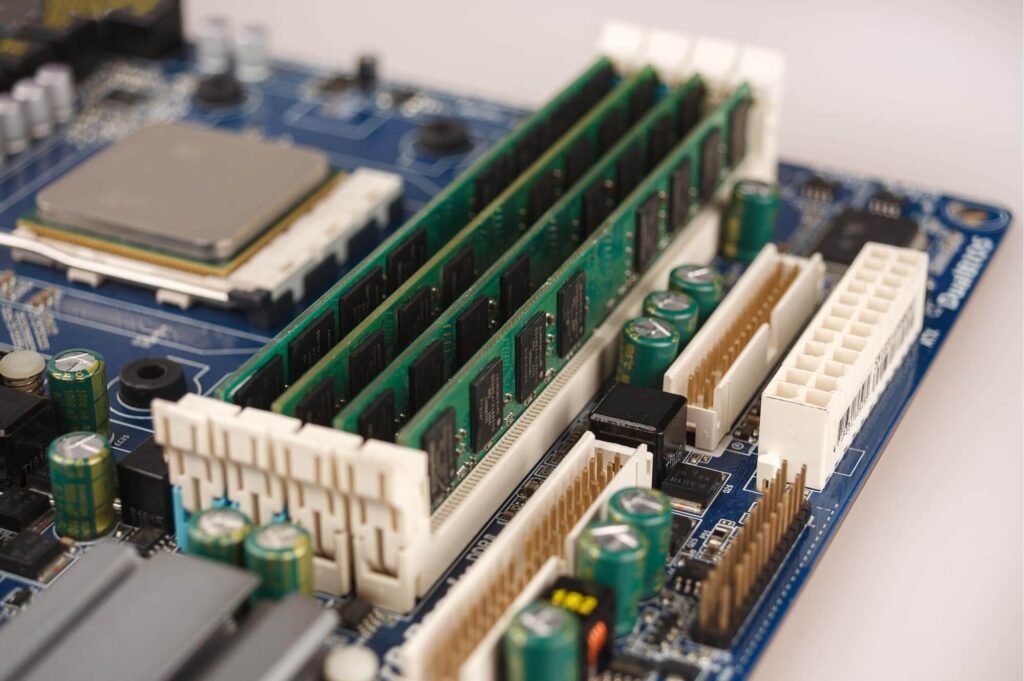
DDR generations are not backwards or forwards compatible. A DDR5 stick will not fit into a DDR4 slot, and vice versa.
The physical notch on the module is in a different position to prevent this. Always check your motherboard’s specifications to confirm which generation it supports.
DDR4 vs. DDR5:
| Feature | DDR4 | DDR5 |
|---|---|---|
| Speed | 2133 – 3200 MT/s | 4800 – 6400+ MT/s |
| Bandwidth | Up to 25.6 GB/s | Up to 51.2+ GB/s |
| Latency (CL) | Lower (e.g., CL16) | Higher (e.g., CL36-40) |
| Voltage | 1.2V | 1.1V |
| Best For | Older/current systems (cost-effective) | New high-performance builds (future-proof) |
If you’re building a new system, DDR5 is the modern choice, offering significantly higher speeds and bandwidth. However, DDR4 remains an excellent, cost-effective option if you’re upgrading an older system and its motherboard supports it.
2. Motherboard Compatibility: Use the QVL
Your motherboard dictates what RAM you can use. Besides the DDR generation, it has limits on speed and total capacity.
The Ultimate Tool: The QVL (Qualified Vendor List)
This is the most reliable way to guarantee compatibility. The QVL is a list published by your motherboard’s manufacturer of every RAM kit they have personally tested and certified to work with that specific board.
How to use it:
- Identify your motherboard model. You can find this by opening System Information (type
msinfo32in the Windows search bar) and looking for “BaseBoard Product”. - Visit the manufacturer’s website (e.g., ASUS, MSI, Gigabyte).
- Find your motherboard’s product page and navigate to the “Support” section.
- Look for a “Memory Support” or “QVL” list. This is often a downloadable PDF.
- Check the model number of the RAM you want to buy against the list. If it’s on the QVL, you can buy with confidence.
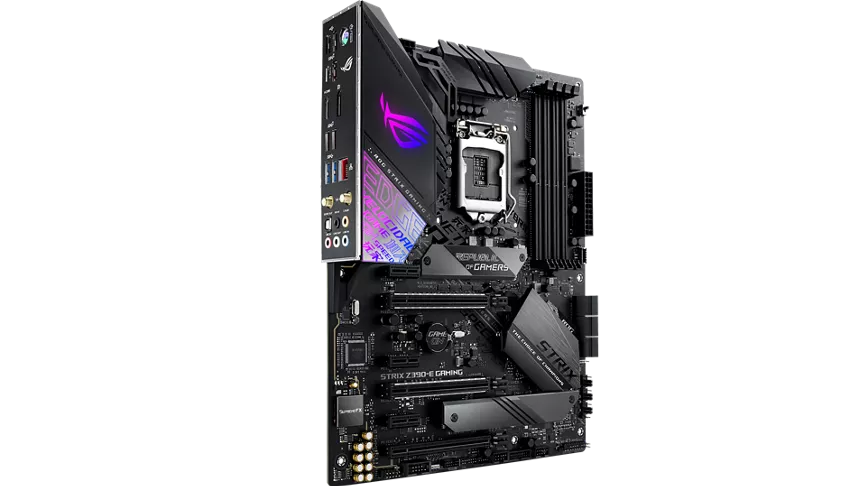
If you can’t find the exact model on the QVL, it doesn’t necessarily mean it won’t work, but it’s a risk. Stick to the QVL for a guaranteed, hassle-free upgrade.
3. Form Factor: DIMM vs. SO-DIMM
This is simple but easy to get wrong. DIMM modules are the standard size for desktop computers, while SO-DIMM modules are smaller and designed for laptops and mini-PCs. Don’t buy laptop memory for your desktop.
4. Speed and Latency: The Performance Fine-Tune
Once you’ve ensured compatibility, you can fine-tune for performance.
- Speed (MHz): This measures how fast the RAM can move data. Your motherboard and CPU will have a maximum speed they support. Buying RAM faster than this is a waste, as it will just be downclocked.
- Latency (CAS Latency or CL): This measures how quickly the RAM can access data. A lower number is faster. While DDR5 has higher CL numbers than DDR4, its significantly faster clock speeds more than make up for this difference in overall performance.
Installation: Upgrading Your RAM Step-by-Step
Upgrading RAM is a simple process that can be completed in minutes with basic precautions.
- Prepare Your Workspace: Power down your PC, unplug all cables, and hold the power button for 10 seconds to discharge any residual electricity. Work on a non-conductive surface and, ideally, use an anti-static wrist strap to ground yourself. If you don’t have one, frequently touch a metal part of the case to discharge static.
2. Access the RAM Slots: Open your PC case by removing the side panel. Locate the RAM slots, which are long, narrow connectors near the CPU socket.
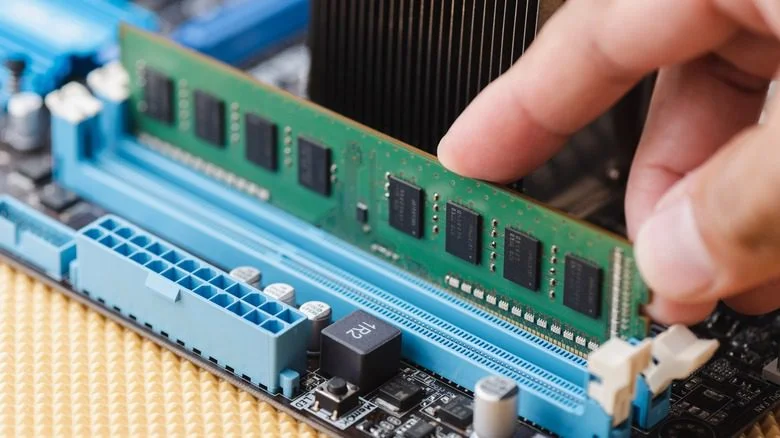
3. Remove Old RAM (If Replacing): If you’re replacing your existing RAM, gently push down on the plastic clips at both ends of the slot. The module will pop up, and you can carefully slide it out.
4. Install the New RAM: Align the notch on the bottom of the new RAM module with the ridge in the slot. Firmly insert the module at a slight angle and press down evenly on both ends until the clips click into place, securing it.
5. Reassemble and Boot: Close the case, reconnect all cables, and power on your system. The PC should boot normally. To confirm the upgrade was successful, open Task Manager (Ctrl + Shift + Esc), go to the Performance tab, and select Memory. You should see the new total RAM displayed.
Ready to Supercharge Your Desktop PC?
Choosing the right RAM upgrade doesn’t have to be complicated. By understanding your capacity needs, confirming your motherboard’s DDR generation and speed limits, and using the QVL for guaranteed compatibility, you can select the perfect memory to fast-track your system’s performance.
At Compvate, we’re passionate about helping you get the most out of your technology. We understand the needs of Kenyan users, from students to professionals, and are committed to providing quality tech solutions tailored to the local market.
Ready to upgrade? Visit compvate to explore our selection of high-quality computer components and accessories. If you need help selecting the right RAM, our team is here to guide you every step of the way.
Have more questions about upgrading your PC? Drop a comment below or reach out to us directly—we’re happy to help you build the perfect system!
Frequently Asked Questions.
On Windows, press Ctrl + Shift + Esc to open Task Manager, go to the Performance tab, and select Memory. This shows your total installed RAM, speed, and the number of slots used.
It’s generally best to avoid mixing different RAM kits. If you do, the system may run at the speed of the slowest module and could cause instability. For the best performance and reliability, it’s highly recommended to buy RAM in a matched kit (e.g., a 2x16GB kit) for dual-channel operation.
Absolutely. This is one of the most noticeable upgrades you can make. Moving from 8GB to 16GB eliminates stuttering during multitasking, allows for more browser tabs, and makes the overall system feel much more responsive.
Installing RAM is one of the easiest PC upgrades you can do. With basic precautions and a few minutes of your time, you can do it yourself. However, if you’re uncomfortable, services like Compvate offer professional installation to ensure everything is done correctly.